Just buying a good microphone is not enough to ensure the best quality of audio. Be it a wireless microphone, a DSLR microphone, or a high-end parabolic microphone, setting it up properly is essential. 4 important parts need to be looked at: the microphone, the quality of the devices, the level of audio, and recording parameters.
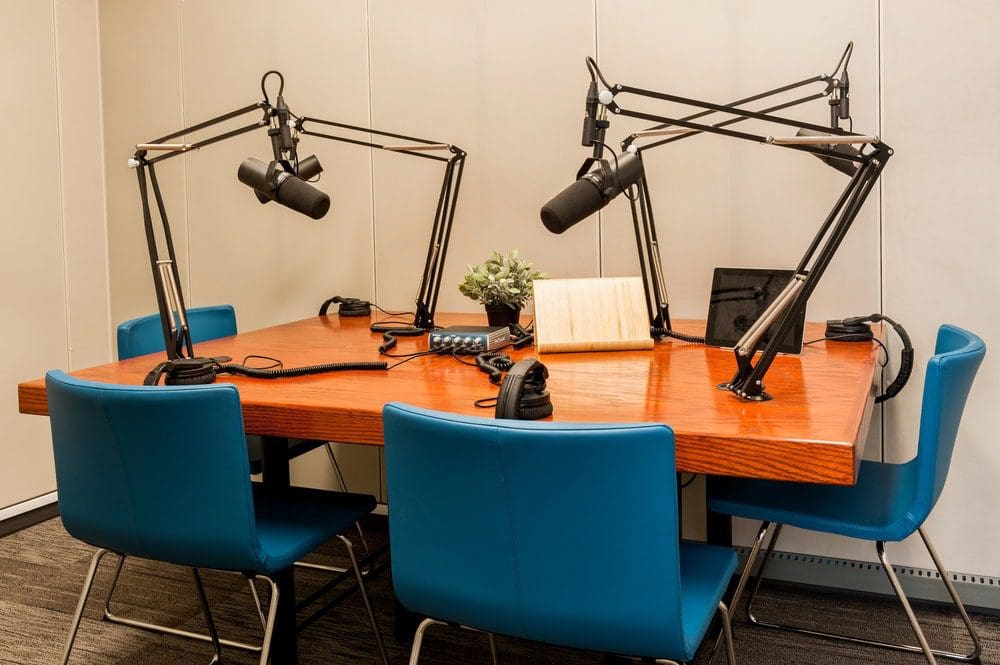
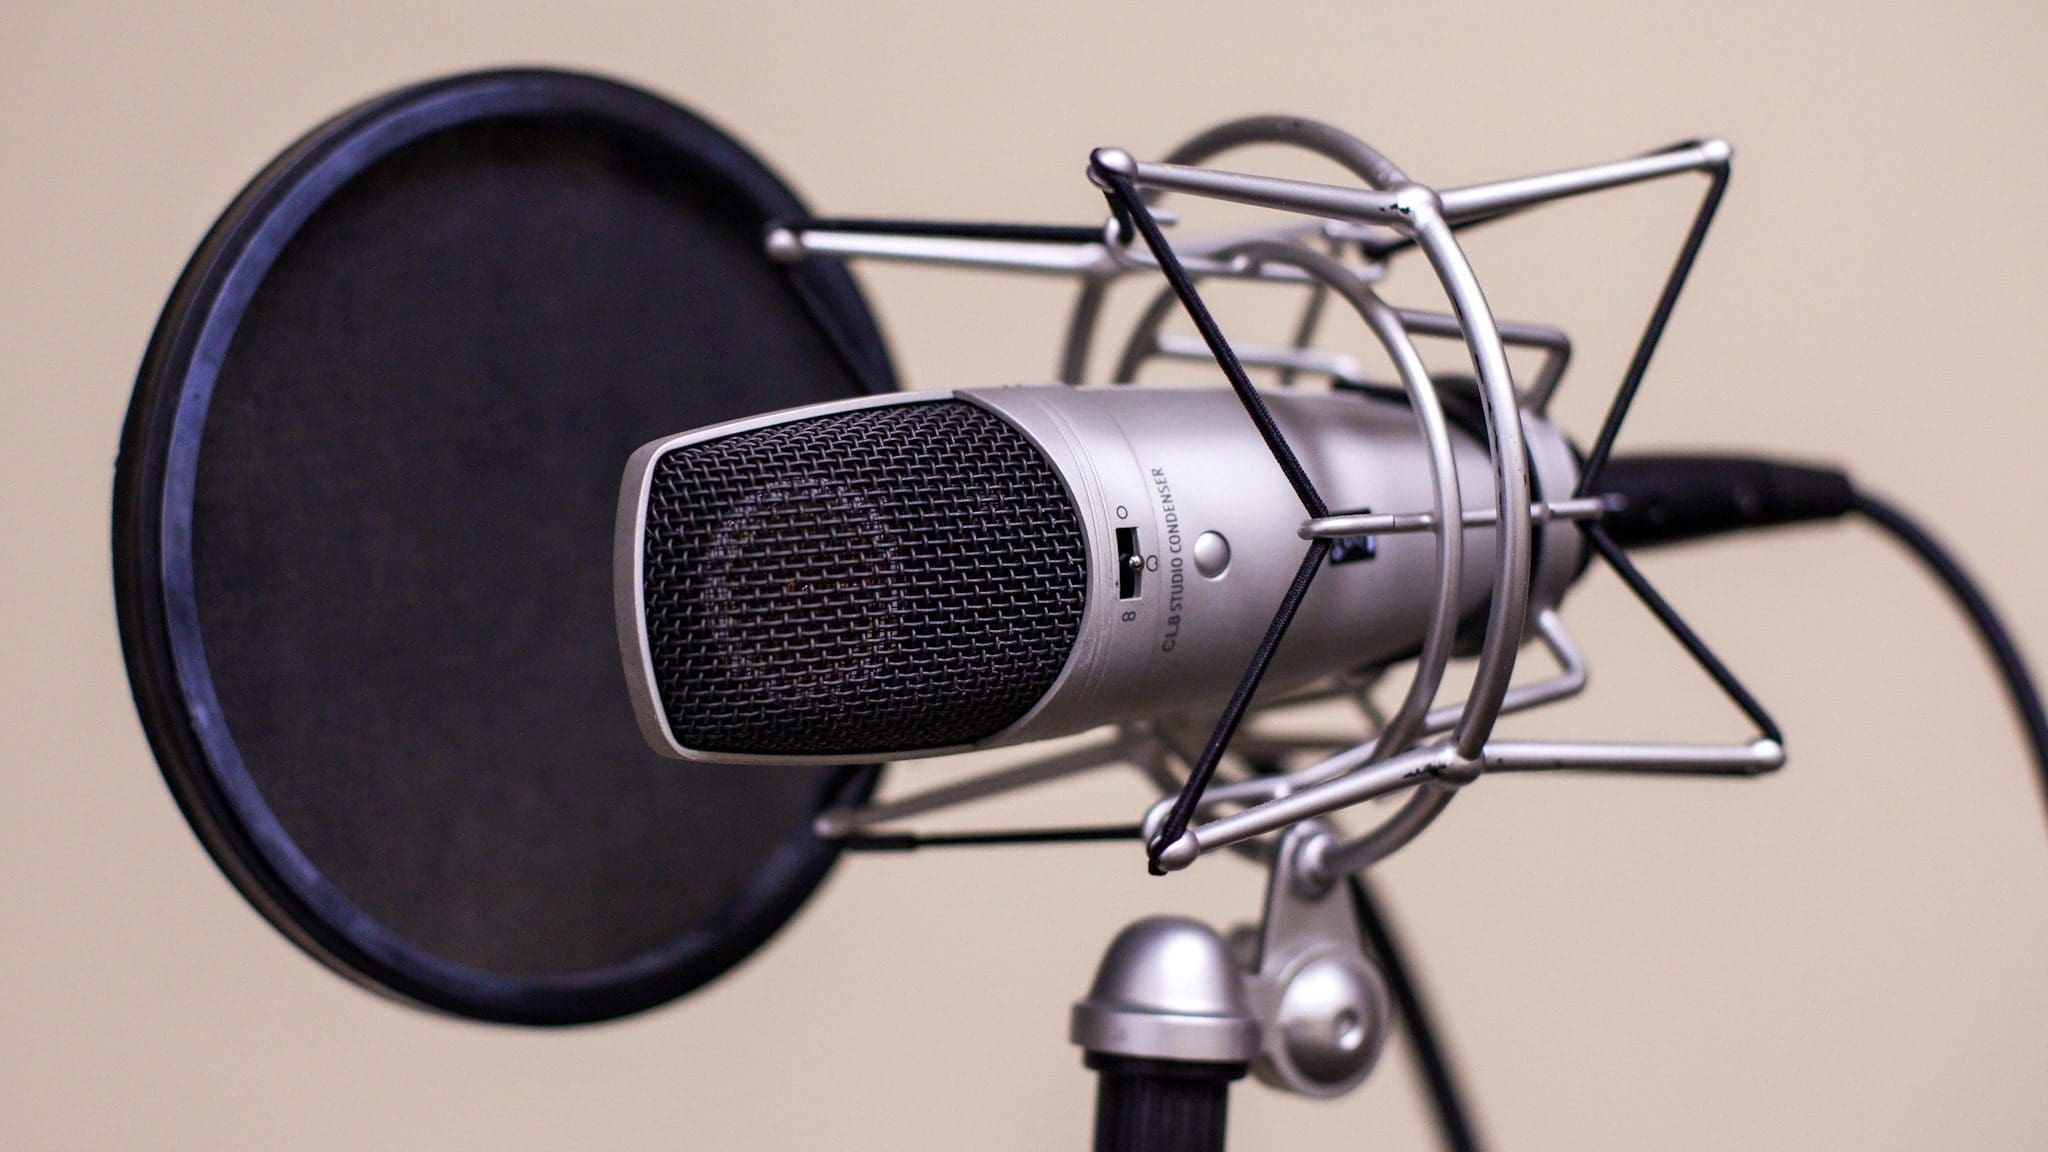
First things first, to get professional quality audio from your microphone, you need to have a microphone stand. Most microphone stand screws have 5/8 threads. If it is a wired XLR microphone then you should be using a specified XLR cable for connecting the mic to the audio device. If it is a wireless microphone or a Bluetooth microphone, then no wires are needed. The mic stand’s shock mount is for isolating vibrations. A pop-filter or foam should be attached as well, to help with protecting the mic.
The Microphone For Your Needs
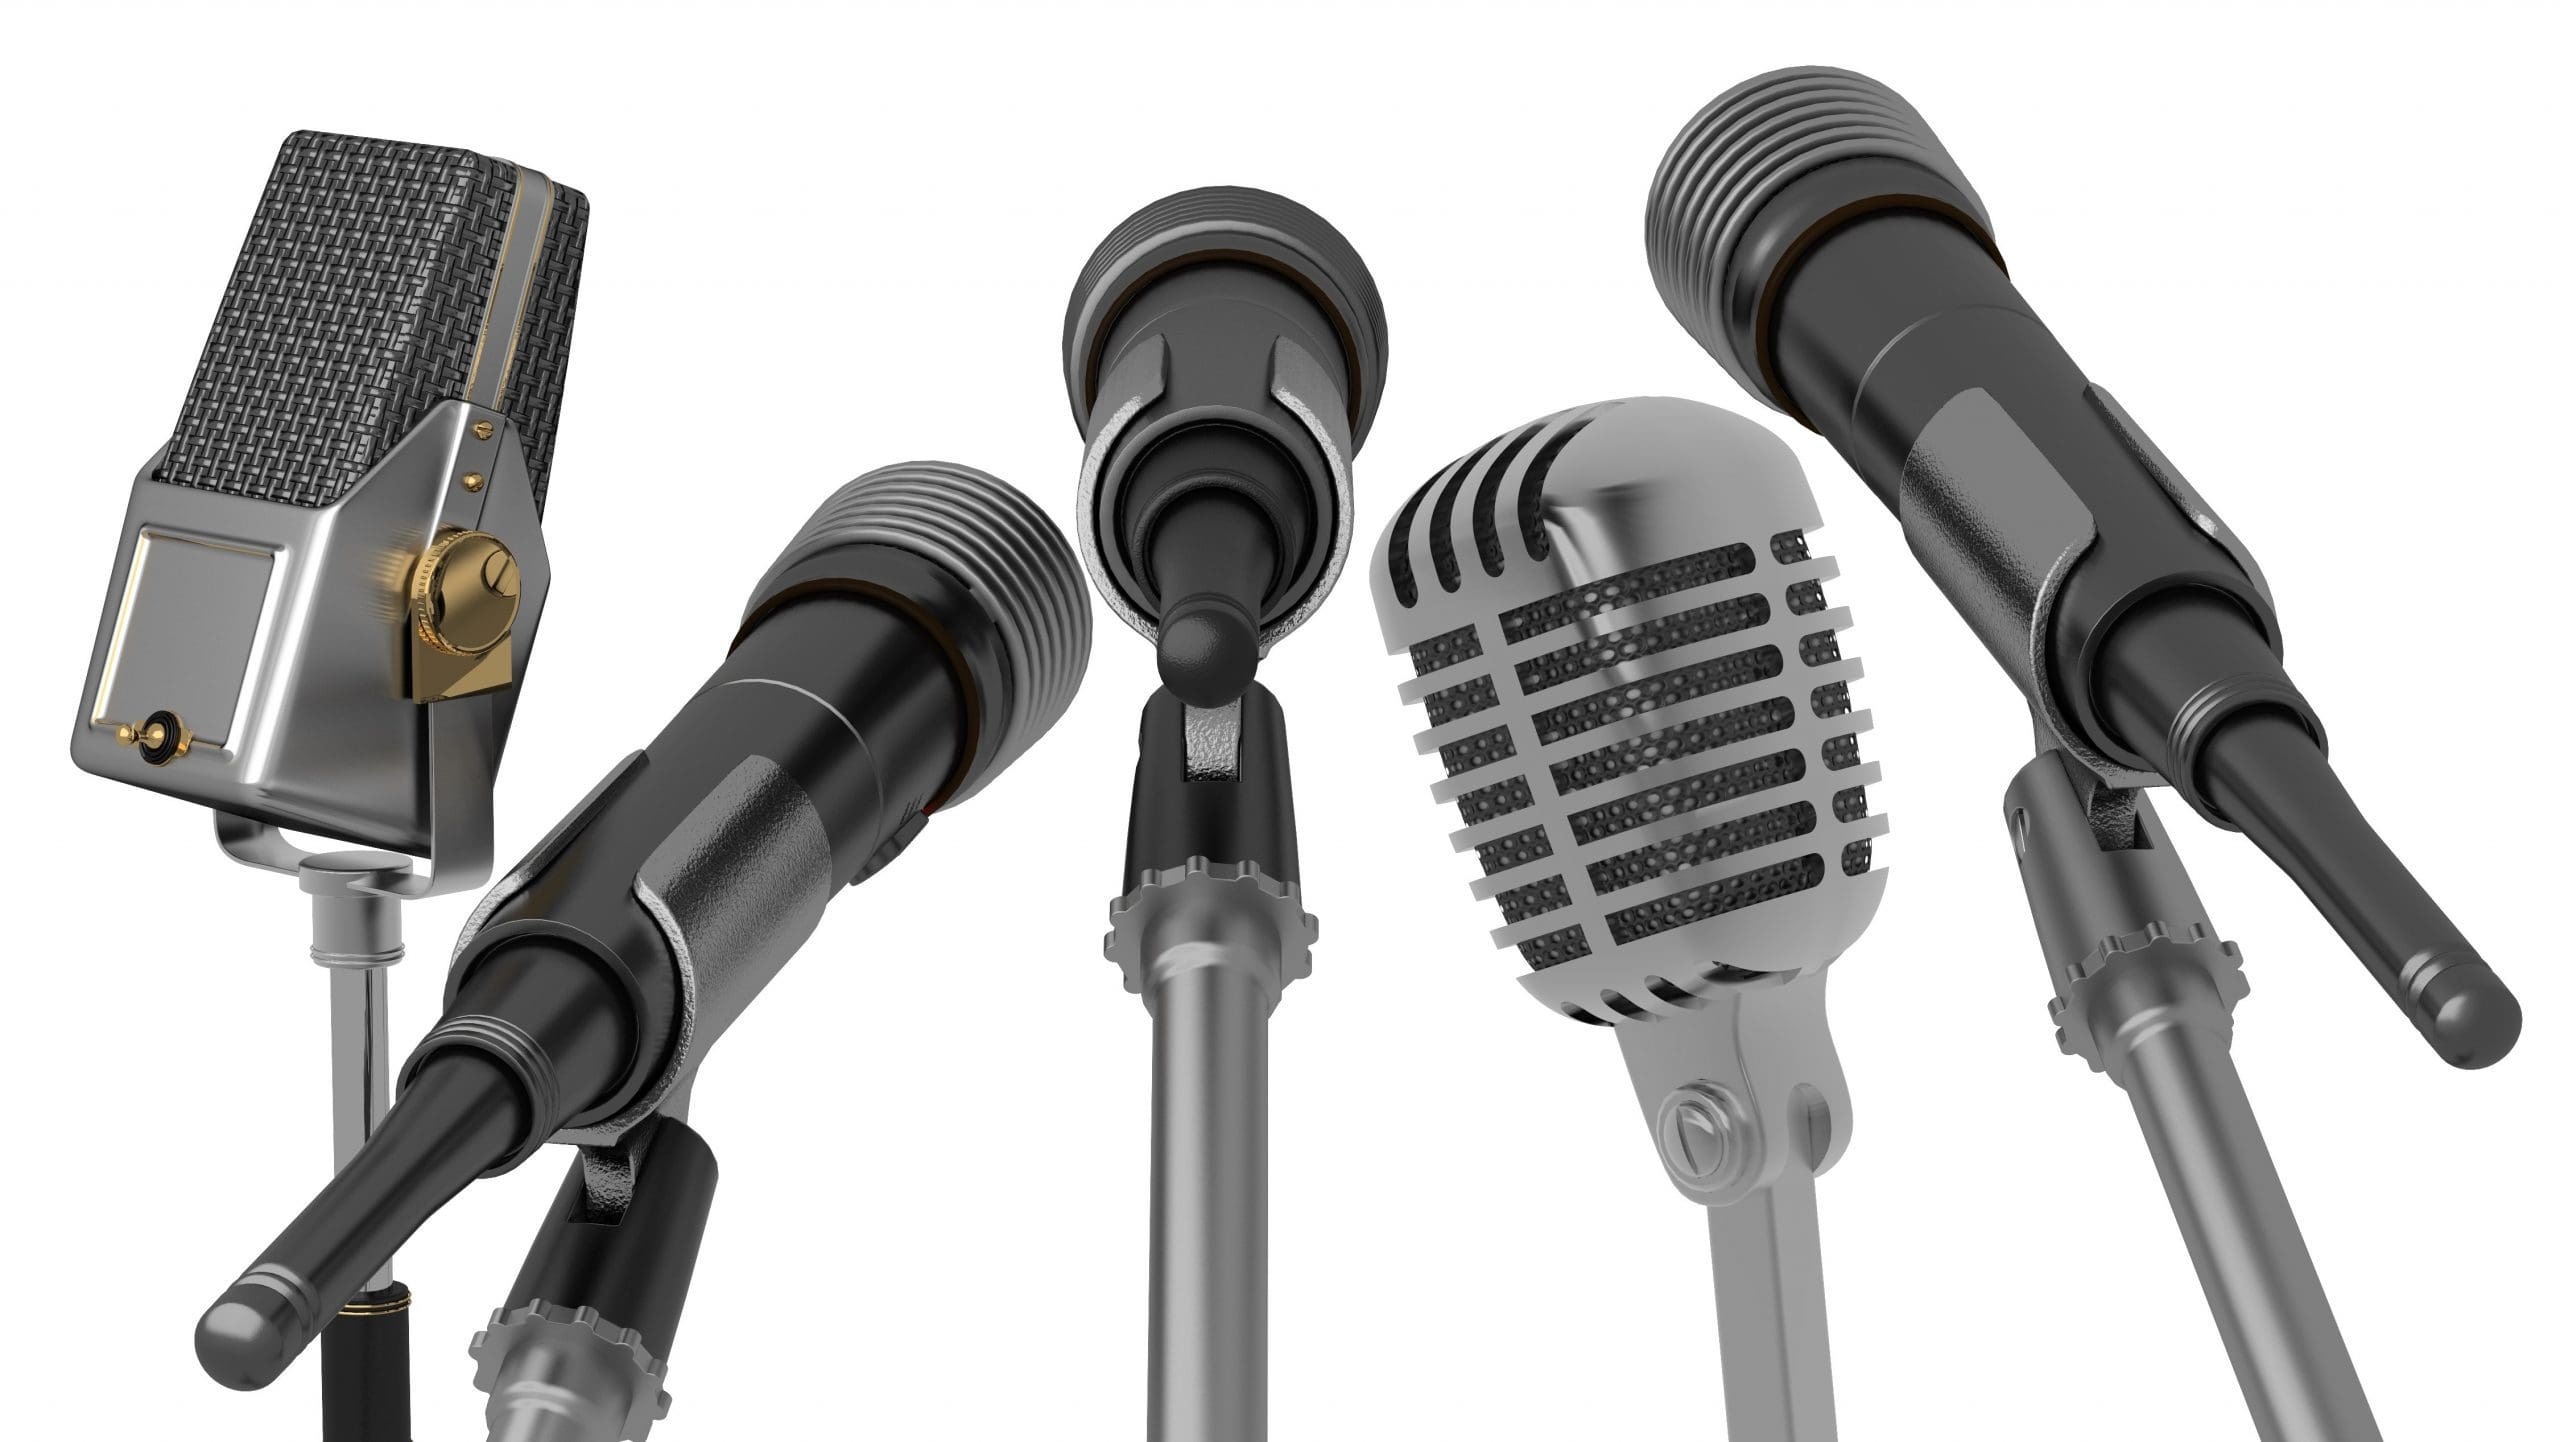
There are a variety of mics out there, each with its specific usage. Wireless microphones come with a mic and a transmitter that it pairs up with. This is used for performances on a stage where mics have to be hidden or carried about all the time. Another type of mic is a DSLR mic or the mic that sits on top of a DSLR camera. It is used to record the audio accompanying a scene, for example in a nature video and so on. XLR Mics are the professional standard in mic quality. You will see podcasters and people streaming online use this type of mics.

Then there are special kinds of mics such as a parabolic microphone. This type of mic features in police films. It looks like a small antenna. The antenna helps the parabolic microphone focus the sound onto the mic, thus enhancing what you hear. But this is usually for enhancing very soft sounds from a distance, and not for recording.
For personal usage, we commonly use XLR microphones or headset microphones. The others do not need any special kind of set-up as they are often used outdoors.
The different brands of mics have their special qualities. For example, Shure microphones are usually agreed as the best there is. Then there are the Fifin microphones or the Tonor microphones which are good choices in a lower price range.
How Does Audio Quality Get Affected By The Setup?
The setup of your microphone has to be stable so that interferences like vibrations do not get caught. Also, the angle at which you talk to the mic will affect how much of it and how it gets picked by the mic. If the location is noisy then the recording will be poor, so location also plays an important part.
Also, you might think that different types of content require different kinds of mics. But that is not the case. What is required is to ensure that your distance to the mic and the location are appropriate.
An extremely expensive mic is not required, but if it is too cheap then there will be long-lasting consequences. Getting the mic right at the start will also save time that would have been spent on editing after the recording session.
Spending on a mic is like investing in a project. If you plan to create professional-sounding content, like for podcasts and so on, then it is fine if it is something high-end. On the other hand, if it is just for chatting online in games, then some headphone microphones will do just fine.
The best choice for many people is currently the Shure SM7B. Other recommendations for XLR microphones are the Rode Podcaster and Rode Podmic.
Choosing The Best Location For The Set-up
The basic requirements of the recording room should include an isolation shield behind the mic. This will stop the mic from picking up sounds behind it. Then, there should be a layer for absorbing the sound behind you. The side walls are better off having a mixture of diffusing and absorbing material. Diffusion is helped by asymmetrical walls. Also, the acoustics are better in rooms where the ceiling is high than where it is low. Glass also carries vibrations so do not be close to windows that are uncovered.
The Best Distance For Recording
Speaking as close to the mic as you can does not ensure the best quality of audio. Usually keeping a distance between 6 and 10 inches (or, 15 and 25 cm) is the best. This distance and the mic filter will get rid of the popping sound that gets created due to plosive consonants (like /p/, /k/, etc.)


A mic stand will help in controlling and maintaining the distance. Pop filters also create a natural shield. However, in headset microphones, controlling the distance is impossible.
Position the mic in such a way that you do not breathe into it. You can also position it according to your behavior while speaking. If you notice you tend to talk downwards then place it below your mouth. The same for whichever direction you tend to face while talking.
Essential Microphone Accessories
The first accessory in this category is undoubtedly the microphone stand. Holding a mic while recording adversely affects the audio because of the changing distance. Gator Frameworks and Rode PSA1 are good for heavy and light mics respectively.
Shock mounts are optional but you cannot do without them. They get rid of additional vibrations that the stand may transmit. Foam filters get rid of sibilance and plosives, making the voice warmer. Dynamic mics benefit the most from them. Pop filters have the same purpose as foam filters, but they are better for condenser mics.
How You Connect The Mic Is Also A Factor
This is referring to the quality of the cable that you use to connect the recording microphone to the audio interface. The thicker the wires are the better the electric signals will be transmitted. The cable materials can have bonus benefits, for example, more shielding layers. For XLR microphones, a great entry-level cable is the LyxPro Quad.
If you are looking for something premium, then Monster Cable and Mogami’s Gold Studio are good choices. If you use them, then we can assure you your audio will sound truly professional.
Audio Interfaces And Mics
If your computer does not have a sound card then you need an audio interface. In professional setups, it will always be there. They are specifically made to capture sound using professional mics such as XLRs. They also have preamp capabilities, and thus, improves your computer’s sound quality.
A proper audio interface will consist of a mic preamp, supports 24-bit recording, have an output jack for headphones, and extremely low latency. You might also need extra outputs and inputs if there will be more than one person recording. An affordable and good option would be the Scarlett 2i2 from Focusrite.
There are more complex devices than audio interfaces. These include remote recorders and mixers. Remote recorders have the power to capture audio directly, which allows recording remotely. You do not need any computers or laptops for this. This is good for recording with a mic for iPhone which is taken outside. Yes, the iPhone itself is good at recording, but if you want that extra edge then you need this device.
Mixers are for complex recordings. They have many different channels and can record on them simultaneously.
Most Popular Recommendations For The Most Popular Situations


Today, most videos are made on handheld devices like an iPhone. So what are the best microphones for iPhones? Wired microphones for iPhones assume that the subject is close to the microphone which is not always possible. For that, there are wireless microphones, such as one by Movo. The wireless microphone system can let the subject be as far away as they like and still provide good audio quality. A good wired recommendation would be the Shure Microphone MV88.
If you are looking for ASMR microphones, then the top company is Rode. The top models would be the NT1-A and the NT-USB.
The top mic for vocals is the SM58, as stated earlier. It has been at the top for quite a while now. The other options would be the SM7B, the Rode NT1-A, and the Audio-Technica AT2020.
In Conclusion
Finally, perhaps the most important part of your mic set-up is having a permanent location for recording. You cannot keep changing the setup at the drop of a hat. In the permanent recording, the location has a list of the essentials.
The first thing on the list is making sure your recording microphone is sitting comfortably on a mic stand. Then the next step will be ensuring all the important accessories are attached properly. The location should be as quiet as possible so that the ratio between signal and noise is high. And, in the end, configure the project for recording correctly, and always keep an eye on the audio levels. They are perhaps most integral to the microphone setup.


